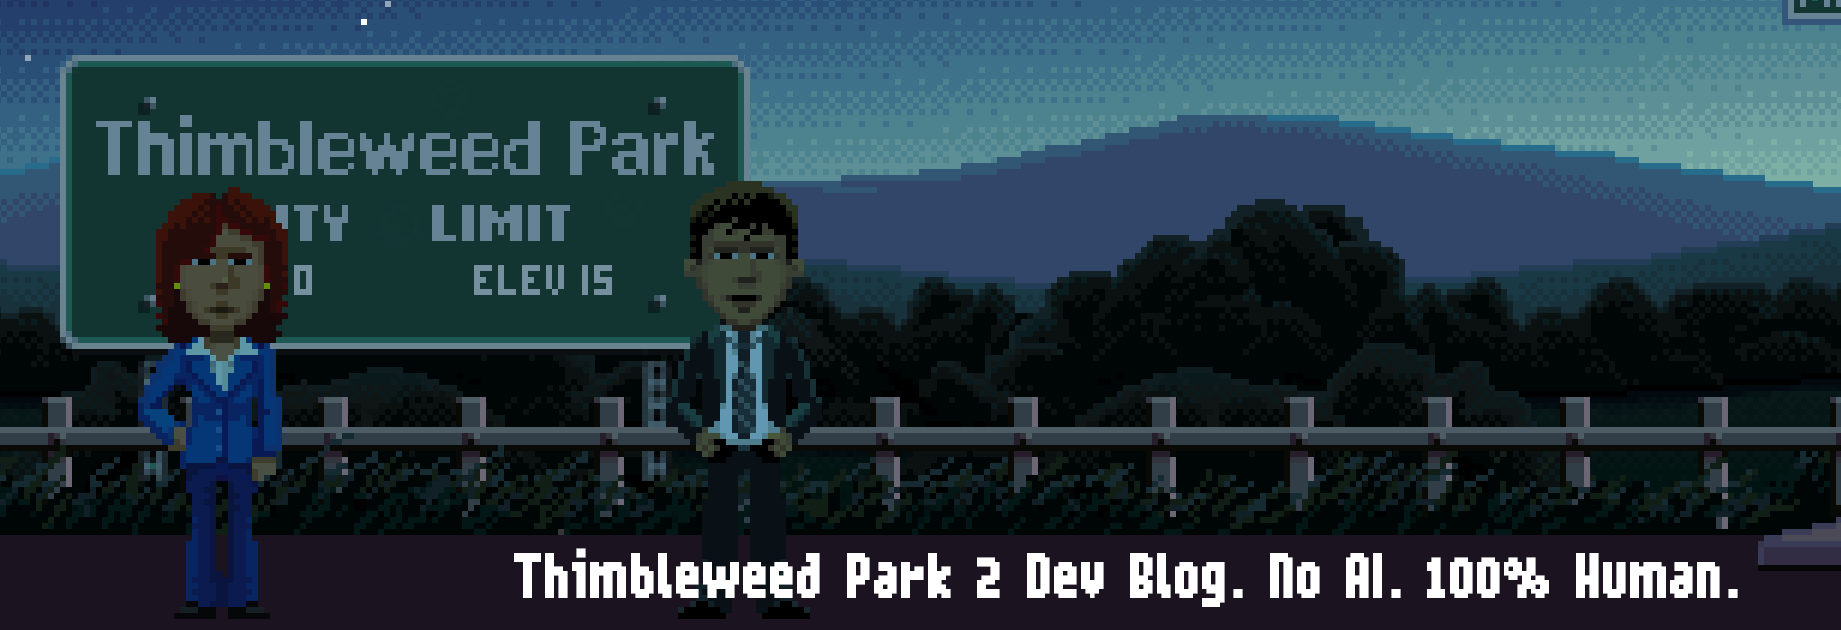
David here!
This is my first blog post for the Thimbleweed Park 2 dev blog, and I hope not the last. I’m going to talk about character animation in the game, a bit about process and tools.
In Thimbleweed Park 1 (ok, it was never called that, just Thimbleweed Park, are we retconning the game name?), we used a home-grown (Ron-created) character animation program called Compy. It had some basic features, and emitted json files describing the animation sequences along with the individual cells that could be layered on top of each other to create the character animations you saw in the game. For example, Agent Ray’s body was separate from her head, so while her body was walking, we could independently animate her head and mouth. Likewise we had another layer for eye blinks, another for accessories (hats, nose glasses).
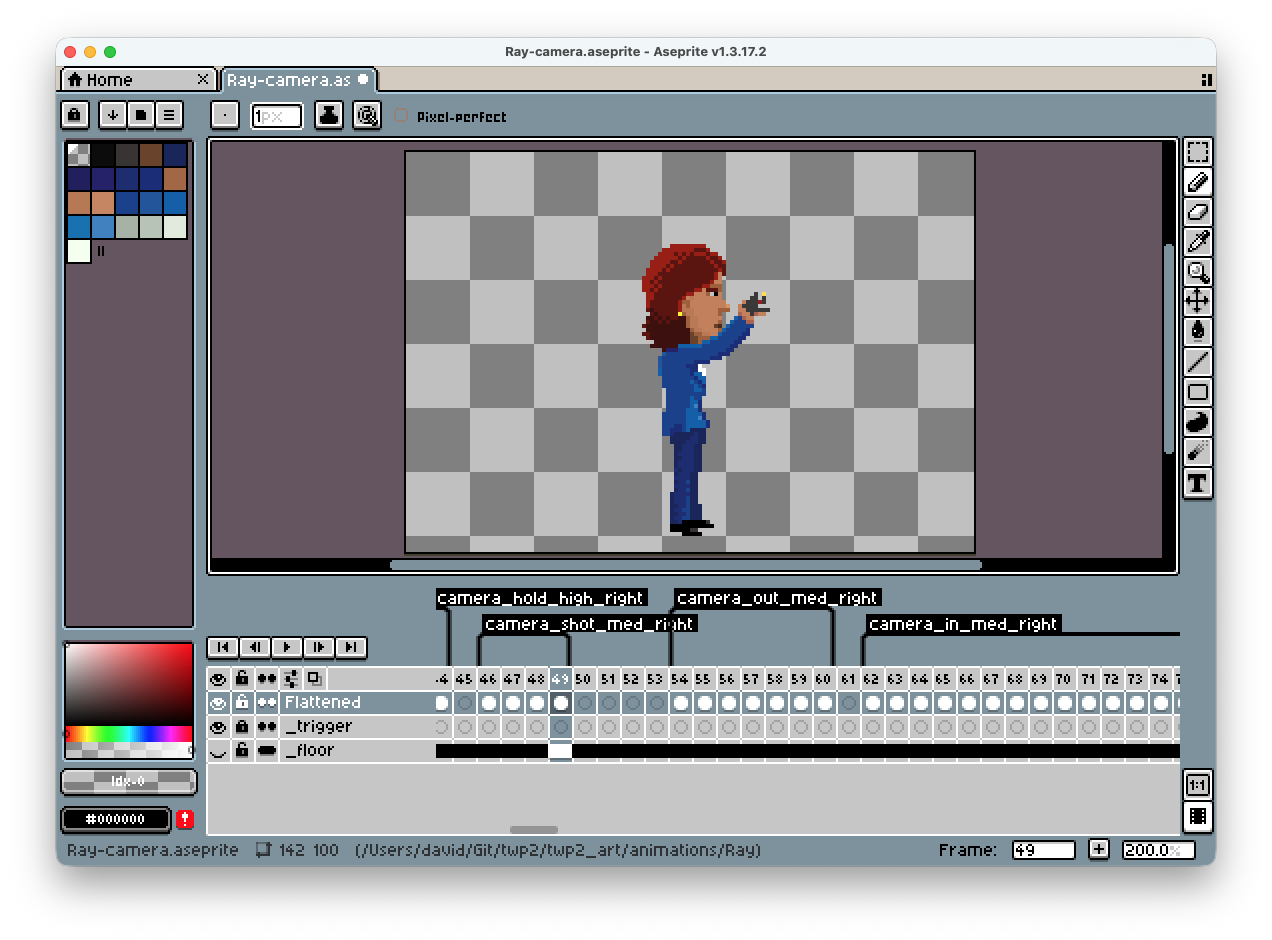
In Return to Monkey Island, our characters were all vector-based, created with the animation tool, Spine. For Thimbleweed Park 2 we’re back to pixel-based characters. Rather than updating Compy, we selected the popular Aseprite for 2D pixel animations ($19.99 on Steam or Aseprite’s website). Ron used it on his recent pixel-based RPG Death by Scrolling, and wanted to stick with it.
I learned enough about Aseprite to import some of the animated characters from the first game… a somewhat mind-numbing and tedious task… opening all the frames in the Mac app Preview, then copying/pasting each image into Aseprite’s cell in the timeline. Then apply some magic (Ron’s Python script exportaseprite.py) which exports each animation cell as a PNG, and then packs them into sprite sheets, and keeps track of all the named animation sequences.
First spoiler: there are Polaroid cameras in this game just like Thimbleweed Park 1 (opening scene with the agents) and in the Delores standalone game. This time both Agents Ray and Reyes have their own cameras, and we needed more animation sequences than just the right-facing and kneeling photo-taking animation from the first game.
In fact, we needed nine sequences… versions for taking photos of low objects, medium height objects, and tall objects. Plus versions for right-facing, back-facing, and front-facing, so 3 x 3 = 9. (When the character faces left we just flip the right-facing animations.)
Each animation is made up of multiple short segments, to give us more control of timing. For example, when we want to trigger a sound effect and a screen flash. Octavi took this on as his first project for the game:
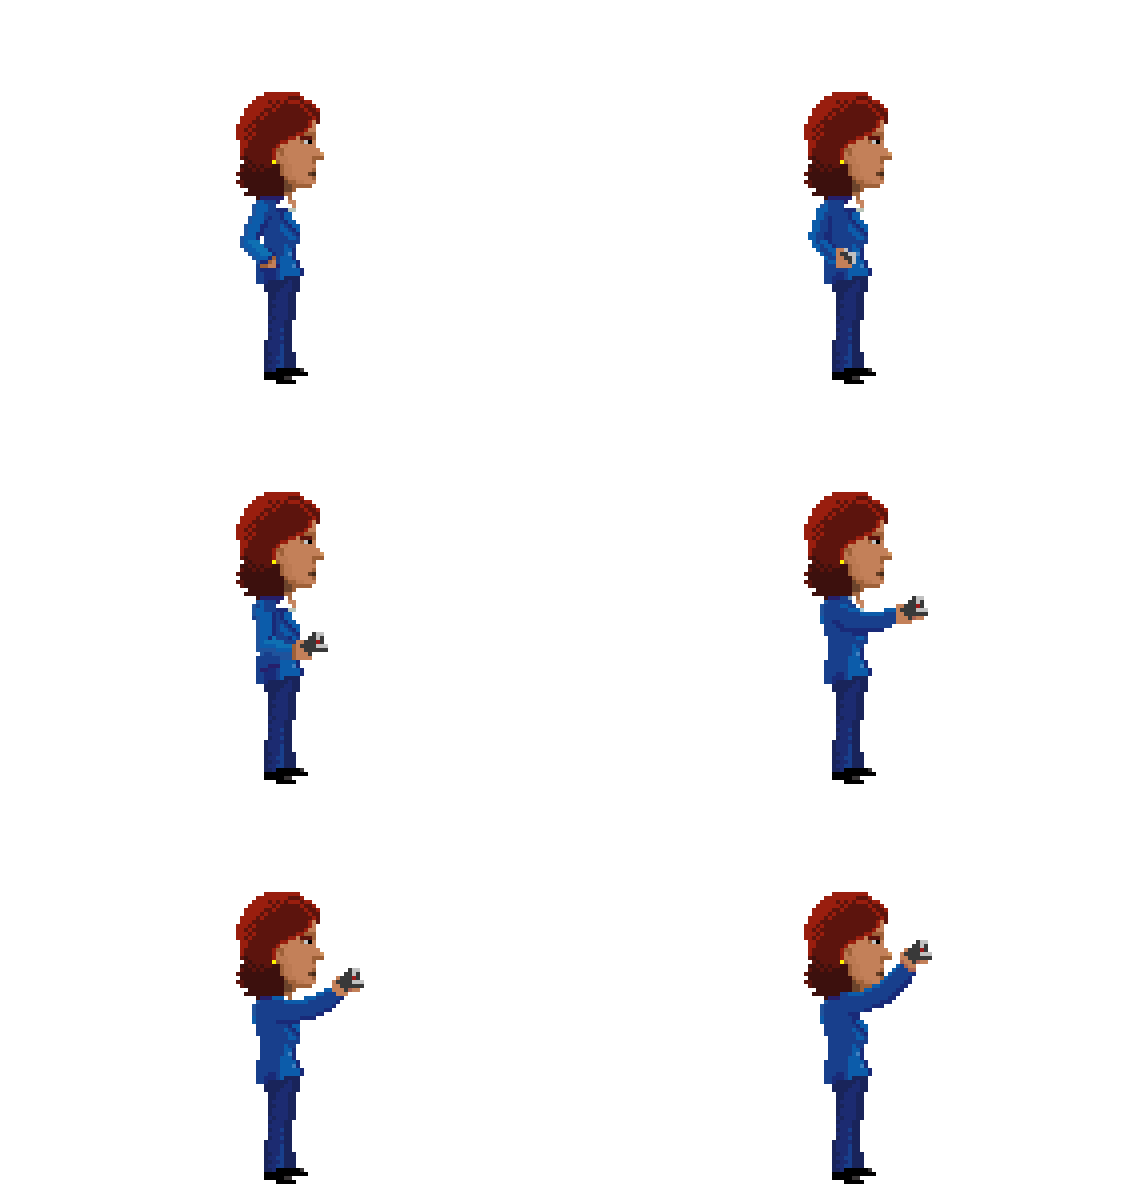
Camera out—actor takes the camera out of their jacket, or wherever they magically store it
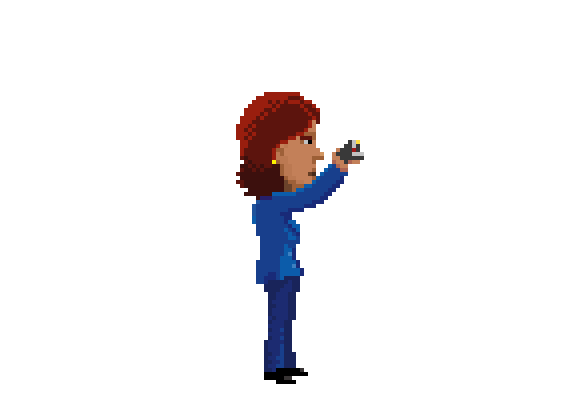
Camera hold—actor holds the last frame with the camera in position to take the photo
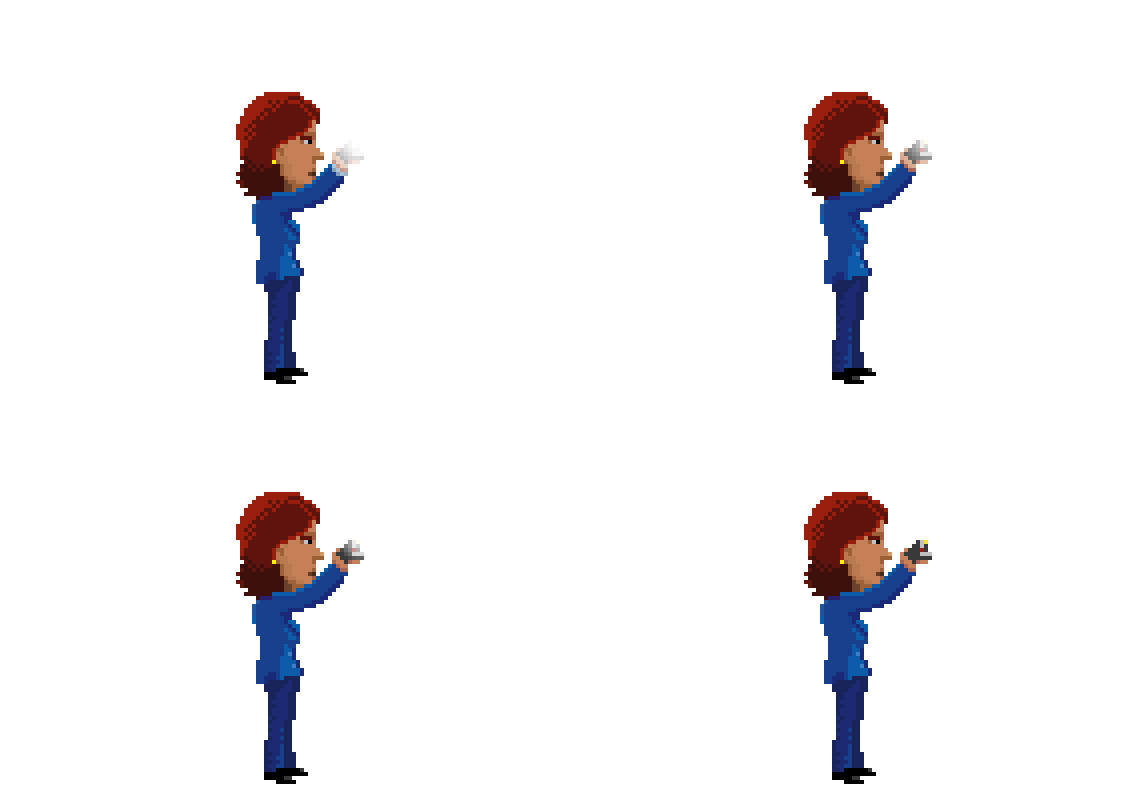
Camera shot—photo is taken as the flash goes off in four frames, and separately we trigger the sound effect and also flash the screen for a quarter of a second
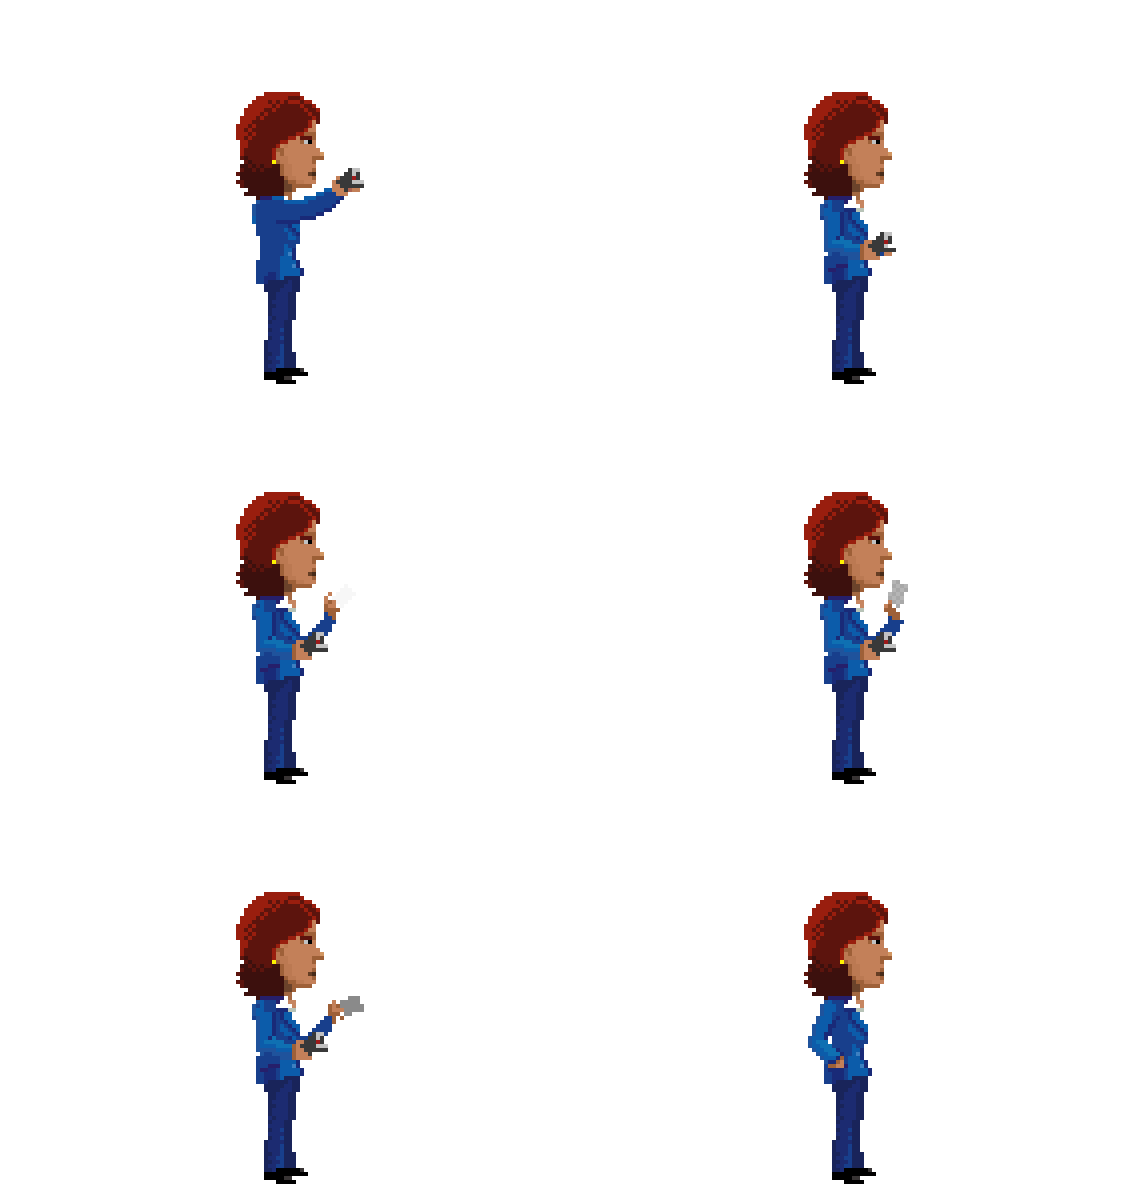
Camera in—camera ejects the photo, actor shakes out the instant photo to dry it off, puts away the camera and returns to a standing position
That means our original nine sequences are made up of four segments each, for a total of 36 segments. Fortunately, all elements of each frame were flattened, so we didn’t have separate talking heads, moving eyeballs, etc.
To keep this all straight, we used a naming convention and tagged the object to be photographed with low, med, or high, and we also set the actor’s facing in the object (front, right, back). Gathering that information from the object, we knew which animations to trigger:
camera_out_[low, med, high]_[front, right, back]
camera_hold_[low, med, high]_[front, right, back]
camera_shot_[low, med, high]_[front, right, back]
camera_in_[low, med, high]_[front, right, back]
Octavi started with the Delores camera animations as a template (from the Delores game), and then created a similar set for Agent Ray. It took a few iterations to get everything perfect. Rather than trying to figure out if it was correct in Aseprite (challenging when there were so many segments to check), I set up a test room so we could check the animations in context… of course I picked the disgustingly gross Thimbleweed Park QuickiePal Bathroom for the photoshoot!
The bathroom doesn’t appear in Thimbleweed Park 2, but it’s finished art and a good test.
I didn’t have any targets for a front-facing photo, so I used temp programmer art, then made a QuickTime video and shared it with Octavi.
When we looked at the animation in the room, we spotted a few issues. One showed a several-pixel jump from the end of the camera animation to the beginning of the normal standing animation. Once corrected, Octavi then created the same animations for Agent Reyes, and I again sent him a movie for him to confirm all was perfect.
For the in-game test interactions, we started with the Delores UI, where the player can drag an inventory object (the camera) out of their inventory and place it over the item to be photographed. Note that the UI in this video is WIP, and will likely go through multiple iterations throughout the development of the game.
– David Fox
P.S.
We have the following .aseprite files
animation/Reyes-base.aseprite
animation/Reyes-camera.aseprite
animation/Reyes-climbing.aseprite
animation/Reyes-reaches.aseprite
animation/Reyes-toilet.aseprite
And in the Dinky code we do this
default_costume = [ "animation/Reyes-base",
                    "animation/Reyes-reaches",
                    "animation/Reyes-climbing",
                    "animation/Reyes-camera",
                    "animation/Reyes-toilet" ]
That adds all the .aseprite animations to a single animated sprite. Then we run this code when taking a picture.
local position = match(getvalue(subject?.photo_reach)) {
    REACH_HIGH: "high"
    REACH_LOW: "low"
    default: "med"
}
local anim = playAnimation(selectedActor, "camera_out_"+position)
breakwhileanimation(selectedActor, anim)
anim = playAnimation(selectedActor, "camera_hold_"+position)
if (is_function(subject?.startTakingPhoto)) {
    subject.startTakingPhoto(subject.photo)
}
breakwhileanimation(selectedActor, anim)
anim = playAnimation(selectedActor, "camera_shot_"+position)
playSound(SOUNDID(take_photo))
breaktime(0.2) // wait a beat to let the sound sync better with the animation
overlayFlashColor(COLOR_WHITE, 0.25)
breakwhileanimation(selectedActor, anim)
anim = playAnimation(selectedActor, "camera_in_"+position)
breakwhileanimation(selectedActor, anim)
actorStand(selectedActor)
if (is_function(subject?.doneTakingPhoto)) {
    subject.doneTakingPhoto(subject.photo)
}
Comments:
and yes, still the best customizing option inside the graphics menu
I remember game magazines revealing sprite sheets and this post, next to be nicely informative, brought me back in history as well.
Keep up the great work and these kind of posts, it is much appreciated!
About retconning the name of the game, I guess we’ll call the first TWP again once its sequel isn’t called TWP2. (I remember referring to Zak as Maniac Mansion 2 when it was just rumoured before its release.)
Anyway, nice post and interesting inside look on the tools and process, David! (As much as I’d love to understand Ron’s about language and compiling and optimizing byte code, I don’t)
...is the process satisfactory so far or do you think there is room for improvement to make it more smooth to work with for everyone?
Otherwise thanks for sharing this as well as the animation previews!
Thank you for this interesting insight, David! I am happy to know that you are handling the animations with such a great care. In my opinion, character animations are such an important element in an adventure game!
As the engines of the two TWP games apparently differ pretty much, there might be tons of notable technical aspects and differences worth to write a blog entry about. So, I am excited about more such insights!
Speaking of UI/UX, and I know it's probably too soon for that, I really hope that we don't get any shortcuts for uncombinable objects as we did in RMI. Or at least I hope we get an option for disabling it.
If combining two objects leads to a boring default response, so be it I say :)
Sorry if this was addressed in the original podcasts, I somehow completely missed that those existed, despite backing the original Kickstarter.
I really hope for an updated look of our main cast... But I guess it's more pragmatic to keep the current characters and just extend what you have. Which direction are you going?
In the past, I've used DPaint to do pixel animation, so these new tools are... new to me.
TIA
I am curious though, how many potential animations actually remain inside. Imagine you always need to shot photos to your right side. Backwards, left, front, up down, mid would not be needed. Ok, some are just flips but still interesting to know.
If it's an important feature that we don't want flipped, we can always create a specific left-facing animation for that character. It's just extra work.
Reyes-camera.aseprite.I have a question: I want to write a post on my private blog (non-commercial, I make no money at all) and would like to use one of the images (
[link removed]) in that post. Can I get your permission to do so? If so, how should I credit you / write the copyright notice?Will this game be one of those detective games, where taking photos in certain locations will be a crucial part of the story?
We did use alternate versions of heads in TWP1 with specific expressions, like shock (mouth open wide), crying, etc. We haven't brought those into the characters yet. It's likely we'll have other unique expressions we'll want/need when we get into production.
Have you considered expanding at least playable characters to eight directions of walking cycle? Four directions feels bare minimum.
Will TP2 fix the mixels of the original game?
Add comment: